
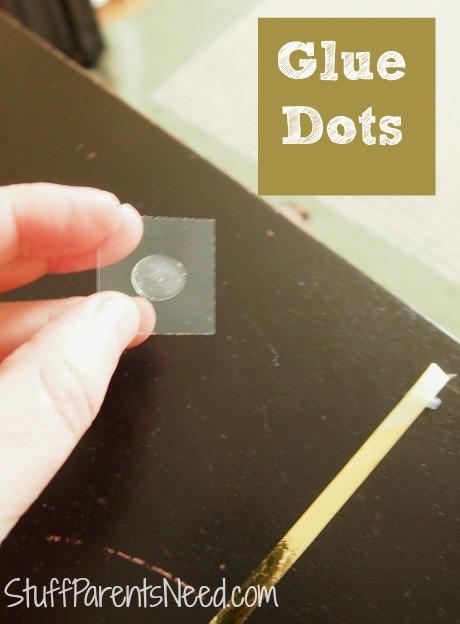
Have you guys seen this cool product called Glue Dots? If you are crafty, then you’ve probably known about them for a while.
If you are like me, however, they haven’t exactly been on your radar. I’m not known for cruising up and down craft aisles, and I break out into hives at the mere thoughts of stepping foot into Michael’s. Crafting just ain’t my thing!
But I have two little ones at home with me, and they both love to get creative in various ways. So I at least need to meet them half way. And Glue Dots are super cool, because they keep the mess to a minimum whenever gluing is involved.
After Valentine’s Day wrapped up this year, Darah very excitedly asked, “What holiday is coming next? We need to get some decorations!”

So I did what any cheap sensible parent would do and headed over to The Dollar Tree for some supplies. Glue Dots sent me some of their products to try out, and since I lack the crafting gene and couldn’t figure out on my own what to do with them, I went to the Glue Dots Pinterest page first for inspiration. Luckily, they have a lot of it there! I found this idea for shamrock garland and determined that it was cute and easy enough for a 4-year-old to do. Which means it might be easy enough for me to do, too. 🙂
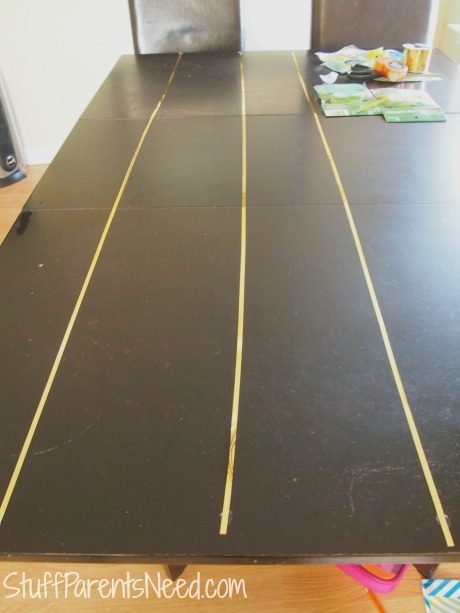
I started by cutting the gold ribbon to be roughly the size of my dining room table. I secured the ribbons to the table with removable glue dots. This would hold them in place, but also make it easy enough to pull them off when we were ready to hang them.
The original directions show a printable shamrock that you can then cut out. OR…you can buy a pack of 12 for $1 already cut, glittered, and ready to go. I bought 2 packs, and that was $2 well spent! 🙂
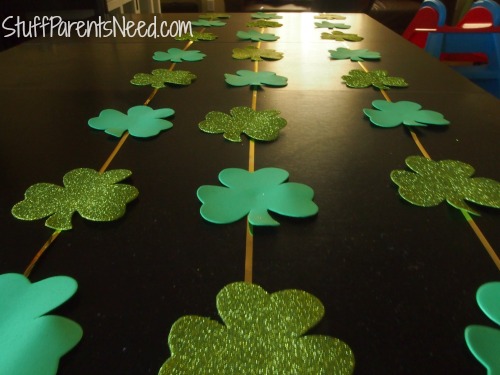
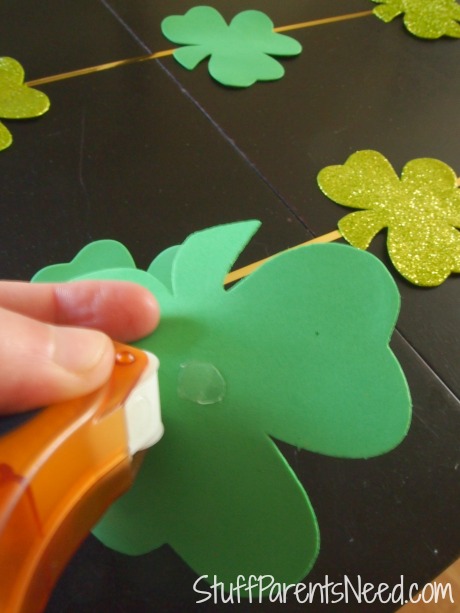
Since I had three strings and 24 shamrocks, I placed 8 on each ribbon, and I laid them out roughly where they needed to be before we started gluing them on. This gave Darah a sense for where they should go, which made the whole endeavor a bit less stressful. Glue Dots comes in either flat packages, or in adhesive rollers. I found that the roller was difficult for Darah to use, but I really liked it! So she used one type and I used the other.
Once we got everything glued into place, we carefully removed the garland from the table, one section at a time, and hung it up on the wall using the poster glue dots. I put extra glue dots at the top, middle and bottom of each garland.

If I had to do it over again, I would go with a slightly wider ribbon, as we did have a bit of trouble getting some of the shamrocks to stay put. I don’t think that’s a problem with glue dots at all, but has more to do with the width of the ribbon and how accurate Darah and I were with our glue-dot-to-ribbon connections. If it has been wider, we would have increased our odds of success. 🙂
But overall, this was a really inexpensive and quite easy project. Trust me, if I can do it, you can do it! And it adds some very colorful art to our walls for the next month, too! If you’d like to try this craft out for yourself, you can find glue dots in grocery and drug stores (I saw some at Walgreens just yesterday), as well as mass merchants. The ribbon and shamrocks can be found at The Dollar Tree.